Pages

Showing posts with label I Made This. Show all posts

Almost There

Just a bit more.


- Posted using BlogPress from my iPhone

It's Growing!

My "new" rug as of this morning.


But I think I'm going to need more sheets.

- Posted using BlogPress from my iPhone

Craft Overload!

So this fabulous poppy fabric arrived in the mail yesterday!!!

I'm so excited!

Now to just finish one of my many other projects, so I can get to this one. ;) (I mentioned yesterday that I hadn't had the energy to craft, which by no means should be interpreted as not having projects lined up!)


It's hard to see in this photo, but those are slightly different blues and I am trying to decide to go with the more vivid looking at the right, or the more subdued left.


What do you think?

- Posted using BlogPress from my iPhone

Back to Craft

I've been seriously missing my craft time lately. What with all the house organizing I'm too exhausted in the evenings to work on any of my projects.

But I haven't been able to find an area rug for the kitchen that I like/can afford so I've started a NEW project. I'm making a rag rug.

I spent four dollars at the thrift store on old sheets, tore them into strips and rolled them up.

Here's what I've got so far.


- Posted using BlogPress from my iPad

My Latest Project

I put down my needles and picked up a hook. My latest work, in progress:


- Posted using BlogPress from my iPhone

She Got A Face!

We decided to name her "Liberty." To go with the Americana theme.

I just didn't want you to think she remained faceless and naked....

Paper Dolls

Jacob says I'm not allowed to buy toys anymore. (Since, apparently I can make them.)

I was surfing the web the other day during naptime, and had this bright idea to make magnetic paper dolls out of magnetic printer sheets.  I'm sure I must have read it on someone's blog somewhere so I won't take credit.


But they turned out pretty cute. =)


Now we just wait for David to try and eat them.

- Posted using BlogPress from my iPhone

Molly

I don't know who she knows named Molly, but when I gave Lil her new doll and asked her what we should call her, Lily said her name is Molly.

I finished her during Lily's afternoon nap and surprised her when she got up, though she had been watching me make her for the past few days, asking at least a dozen times a day if this dolly was for her. Yes, Lily.  Be patient, Lily.
She has purple hair as per L's request. And button jointed hips, shoulders, knees and elbows.
You can see her double layered skirt in this pic.  Lil got to pick fabric from my scraps pile, with a little guidance, of course!

And I think she loves her.
I still haven't mastered that turkey neck.  Guess I better make another one.

She told me, very solemn like, "Mama, she's bea-u-tiful."

Wild Hair

Sometimes I just want to see if I can....

That's what I told myself when I got this wild hair to make a baby doll.

And oh how Lily LOVES this little doll!

She's constructed in what's called the Waldorf style.

With button joints that rotate.

And she has needle felted hair,

and embroidered features.  I really need to figure out how to make that head attach better before I make another one.


Maybe I should restitch her with eyes open.
Why? I hear you asking.  Couldn't I be using my time more wisely?

I just wanted to see if I could. ;)

All That Felt - Part II

It's almost done!  But my hands got tired of trying to hole punch double layers of felt...

So today it's just a Happy Day!
I'm lazy and didn't bother to take down Lily's
art display before I put up the banner.

They turned out bigger than I had planned/envisioned,
but I've decided to just be okay with that.

And it really is a Happy Day since Jacob got to spend the day home with us while Ft Bragg is closed due to the snowy and icy weather.

All That Felt


The birthdays will be fast upon us. So, I'm making a (reusable) birthday banner!

Are my colors too masculine?

Unintended Project :)

Joann was having a sale on felt.

I thought I'd make something spring/Easter-ish with some robin's egg blue and as I was walking to get my bolt cut Lily chimed in that we needed some pink too.  I turned around to see Lil carrying this bolt of felt larger than herself, following me to the cutting table.  

So what was I to do? I bought her a yard of felt.

And then when we got home I made her a barrette.

And then I made another.

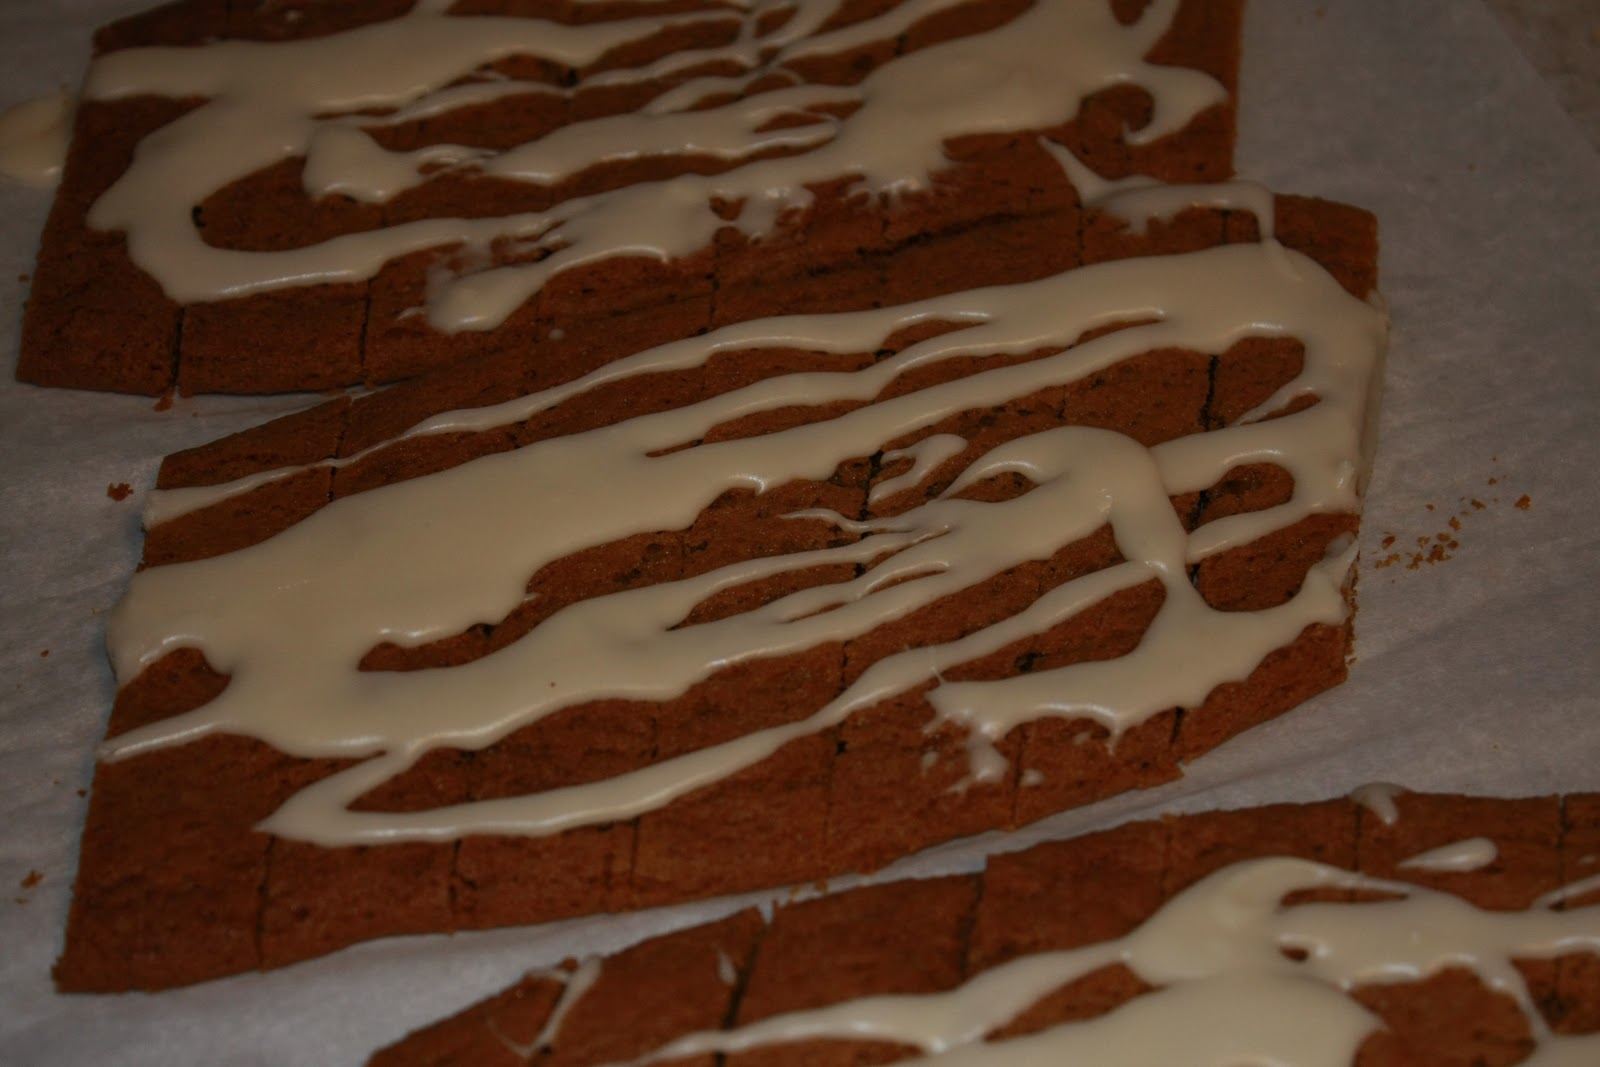
My Favorite Holiday Cookie

Warning: Do NOT make these if you have week willpower this time of year.  They are uber yummy!

I had to snap this pic fast...as you can see I never even separated the bars and they are already starting to dissapear!


Old Fashioned Molasses Strips

COOKIE
¾ cup margarine or butter, softened           2 tsp. baking soda
1 cup sugar                                                ½ tsp. salt
1 egg                                                          ½ tsp. cinnamon
¼ cup molasses                                          ½ tsp. cloves
2 ½ cups flour                                            ½ tsp. ginger  

GLAZE
¾ cup powdered sugar
1 tblsp. margarine or butter, softened
1 tblsp. milk    
½ tsp. vanilla

Heat oven to 350˚ F.  Grease cookie sheets or line with parchment paper.  In large bowl, combine margarine, sugar, egg and molasses.  Mix thoroughly.  Add spices and blend well.  Add flour until soft dough forms.  Divide dough into 6 portions. Shape each portion into a 12 inch log on prepared cookie sheet; flatten slightly.  Bake at 350˚ F. for 15-18 minutes, or until golden brown.  Cool 5 minutes.  Cut diagonally into ¾ inch bars.
Do not separate.  Cool completely.

In a small bowl, combine glaze ingredients until smooth.  If needed, add a few more drops of milk to make glaze consistency.   Drizzle over bars. (I usually double this part of the recipe.) Allow glaze to set.  Separate into bars.  YEILD:  Approximately 60 bars… unless you are a piggy like me.

Of Bread, Zipper beds and Style

At the risk of using up all my blog fodder for the next few days, I have a few things to share.


In my practice run for making bread to take with us to share at our thanksgiving meal this year, I have made a couple of discoveries with a new, more complex bread recipe. It takes a few extra steps, but the bread is FANTASTIC, bakery quality according to my hubby.  And let's face it, what are a few extra steps when you are already making bread from scratch anyway?!

So here it is, Sara's Bread 2.0:

9 oz of whole milk
2 1/4 tsp active dry yeast
17 1/2 oz flour (again about 60/40 whole wheat to all purpose)
1/4 cup butter at room temp
3 Tbsp sugar
2 tsp salt and
2 large eggs
Four little rolls are all that are left from yesterday's batch of twelve.

I proofed the yeast like a good girl.  Warmed the milk to 100-110 degrees and mixed the yeast in to set for about 5-10 min.

Then to half the flour rub in the butter and sugar and salt, and mix in the eggs and yeast milk.  Cover and let set until doubled at room temp (half an hour).

Mix in the rest of the flour and kneed to smooth. (What a workout!) DON'T ADD MORE FLOUR! It will eventually pull together and get smooth!

Cover and let double in the fridge. Takes a while... mine was five hours.

Turn out, stretch and reshape your dough into loaves, rolls, etc brush with egg wash and let rest one final rise.  (about 45min)

Preheat oven to 425. 

Brush with egg wash again.  A dozen rolls take about 10-12 min at 400 degrees.  Two loaves take about 20-30 min at 425.  One big rustic loaf... I haven't tried.  They should sound hollow when you tap the bottom. 


Also, with staying at friends over thanksgiving in mind, I made Lily a sleeping bag.  She calls it her zipper bed.

I thought I was just about finished with it the other night and was trimming it up and turning it right side out, when something told me not to trim the way-to-long-zipper yet.  And it was a darn good thing because I had put one half in upside down! Goodness knows what I was thinking at the time, I'm usually so careful!

These just don't join up no matter how much you want them to!

Anywho, after ripping the zip back out and putting it back in right side up, Lily loves it!


peek-a-boo


Oh, all those nasty cords! Please don't look.


And since I love her sense of style so much (I let her do it to herself you know) I wanted to show you more Lily.
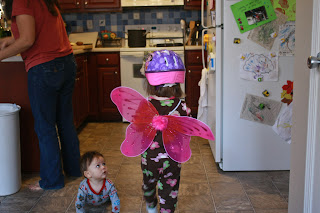
David's thinking "Really? Wings with those jammies?"

Note that she has shoes on.  Lily must ALWAYS have shoes on.

This one is way more subdued.  But she picked it out all by herself and I thought she looked sooooooo cute!

More Bread

After a couple of requests (I'm so flattered!) I wanted to share my bread recipe with you. Now mind you this is just plain old everyday bread.  I have fancier recipes, but this is my most often used. Makes two loaves.

18 ounces of flour, yes I weigh it, which is about 3 3/4 to 3 7/8 cups of flour. I just guesstimate 60% whole wheat flour since the recipe actually calls for all all-purpose flour.
2 1/4 tsp yeast (one packet of active rise)
2 tsp salt
5 Tbsp olive oil
11 1/2 oz (again weighed) water which is just over 12 fl oz in a glass measure
(if you're feeling fancy 1-2 Tbsp honey is also nice)

Rub the yeast into the flour until it disappears. Add salt, water and olive oil and mix it up, turn it out to kneed it and then do this:


That's the really fun part. :)

Let dough rise one hour in an oiled bowl in a warm, draft free place.
Turn dough out and divide into two, form each into a ball and cover, rest for 15 min.
Mold dough into loaves and place in greased loaf pans, cover with dishtowel and let rise until doubled. (1 hour-ish)

Bake in a preheated 475 degree oven until tapping the bottom of the loaves sounds hollow.  In my oven it's 20 min, but it can be as many as 35... go figure. Remove from pans to cool.

Baking Bread

So I have this (relatively) new wild hair about the food we eat, where it comes from, what it ate, it's nutritive content, etc.

So I've started making our bread.

I see you rolling your eyes.

Bread is a big deal to me a) because I love it so much and b) because the stuff you buy at the store is basically empty calories.  The flour they use is stripped of most of it's nutrients when the germ and the bran are removed so that the finest, lightest, whitest flour can be ground.  Not to mention the fact that removing these helps extend bread's shelf life.  And there are all the other preservative ingredients that we just don't really need. And since I love it so much... and want to eat it so much... I want to be able to control what we are eating.

Bread in it's most basic form is just flour, water, salt and yeast. (I use a combo of about 60% whole wheat flour that has been ground with the germ and the bran, and 40% white flour.) I use a recipe that uses these plus a little olive oil, which makes a more supple, tender loaf.

And you know what?  I've enjoyed myself.  And it tastes so good!


(Let's face it, girls who are/were stationed in Germany, that loaf at the commissary doesn't taste anything like the bread from the bakerei down the street!)

NOT Our Holiday Card Photo

Look at the camera Dave!

Birthday Girl's Photo Shoot

In the "watch me grow" tradition, we took Lee's pictures in my cocktail dress again this year!